1. Create a Business at Banked
Reach out to the Banked Team to set your business up.
2. Get Test Keys
After activating your account, you will be provided with your API test keys. You can use these to create payments in our sandbox environment where no money will be transferred to/from providers.
To use the examples below, replace YOUR_API_KEY with your own.
You can use the following payee details for Sandbox Payments:
- account_number - 12345678
- sort_code - 010203.
The following cURL command creates a PaymentSession which contains a single item. Remember to Replace YOUR_API_KEY with your test key, and YOUR_API_SECRET with your test secret:
curl --location --request POST "https://api.banked.com/v2/payment_sessions" \
  --header "Content-Type: application/json" \
  --user "YOUR_API_KEY:YOUR_API_SECRET" \
  --data "{
    \"reference\": \"Illuminate\",
    \"success_url\": \"http://example.com/success?id=__PAYMENT_ID__\",
    \"error_url\": \"http://example.com/error\",
    \"line_items\": [
      {
        \"name\": \"Candles\",
        \"amount\": 100,
        \"currency\": \"GBP\",
        \"quantity\": 4
      }
    ],
    \"payee\": {
      \"name\": \"Gerald Wiley\",
      \"account_number\": \"12345678\",
      \"sort_code\": \"010203\"
      },
    \"email_receipt\": true
}"
Please note that reference is limited to 18 characters and can only contain letters, numbers, or spaces. Some banks are limited in the characters they accept, in which case Banked will strip or replace certain characters in the reference field to meet the bank's requirements.
After running this in your terminal, the response will return a PaymentSession object with the URL required to access the web checkout and complete the payment:
{
  "amount": 400,
  "created_at": "2019-11-01 15:48:26 UTC",
  "currency": "GBP",
  "end_to_end_id": "728d061b-8e47-4052-be4f-5f9bcdee39ff",
  "error_url": "http://example.com/error",
  "id": "1ae1ce03-dfa9-4593-b487-65c656991cb5",
  "line_items": [
    {
      "amount": 100,
      "currency": "GBP",
      "description": null,
      "name": "Candles",
      "quantity": 4
    }
  ],
  "live": true,
  "payee": {
    "account_number": "12345678",
    "name": "Gerald Wiley",
    "sort_code": "010203"
  },
  "reference": "Illuminate",
  "state": "awaiting_payer",
  "success_url": "http://example.com/success?id=1ae1ce03-dfa9-4593-b487-65c656991cb5",
  "url": "https://checkout.banked.com/1ae1ce03-dfa9-4593-b487-65c656991cb5",
  "email_receipt": true
}
You can also include the optional payer field when creating a payment session. This will mean your customer will skip the first screen of Banked's checkout and go straight to the bank selection screen.
If you know the user's name and email, add them in the payer field when creating the payment session. This allows for a much smoother payment experience and improves checkout conversion!
Use the placeholder __PAYMENT_ID__ anywhere in success_url and error_url if you need to use the newly-created payment ID when the user is redirected.
4. Checkout with the Mock Bank
Use the url value from the payment_sessions response to access the web checkout. You can see details of the PaymentSession and progress through the full checkout flow as a real customer would.
The key difference is we provide a 'mock' bank for developers to test with, which doesn't require the need for a real UK bank account. It also offers the ability to test pending and failed PaymentSessions without any money moving between providers.
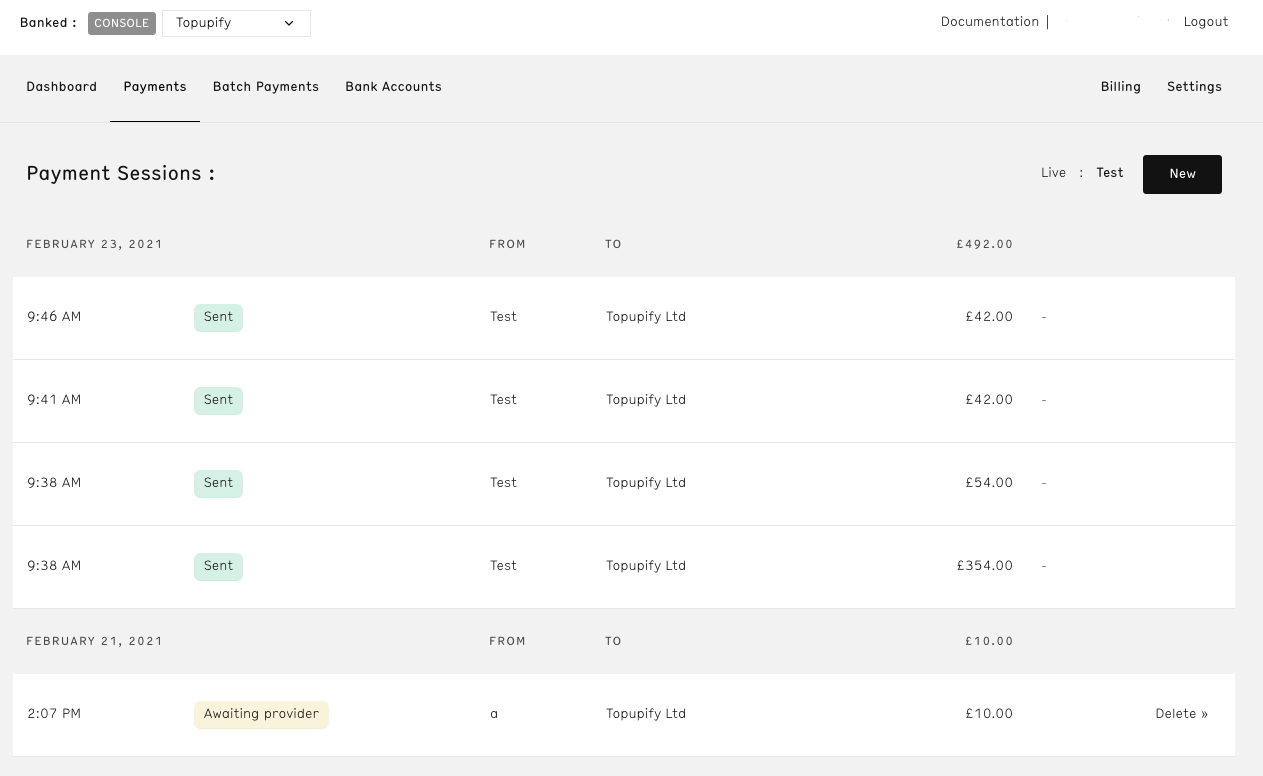
5. View Payment Status
The merchant Dashboard we offer provides a list of PaymentSessions that have been created. You can toggle between live/test mode to view PaymentSessions generated with test keys.
You can also retrieve the payment status using the Banked API. Send a GET request to the /payment_sessions endpoint with the payment_id in the URL to retrieve the PaymentSession object. The response includes the status in the state field. See the Payment States reference page for details about the values in the state field.
6. Going Live
Reach out to our support team to start the go live process.