Topping up accounts is an important use-case for Banked's customers, where our low fees and instant transfer make a compelling combination. We built Topupify, our example top-up application, to help our customers understand how the technology and user experience can work.
Topupify is a Node.js and Express.js application, which allows users to sign-up and add funds to their accounts via Banked. It's a purely back-end, form based application.
This application repeats much of the functionality of our Nuxt.js webstore example, including its usage of Banked's official Node.js library, but there are important differences: because we already have our customer's name and email, we can pass those to Banked's API when we create the paymentSession. We host the checkout page ourselves, rather than using Banked's hosted checkout; and we accept Banked's webhooks to 'verify' if the payments have been completed.
Embedding the Banked checkout
Embedding Banked checkout is really straightforward using our Banked.js SDK.
We want checkout to show on the TopUp page of our app, so we import the banked.js SDK in the topup view (topup.ejs) inside the page header.
<script src="https://js.banked.com/v3/" type="text/javascript"></script>
Next, we want to embed the checkout web component - we only do this if a paymentID was successfully created, since the checkout only makes sense for an actual payment! Note that we need to add appropriate authentication credentials as a parameter.
<% if (paymentID) { %>
<banked-checkout
  [authentication
  goes
  here]
  id="checkout"
  payment-id="<%= paymentID %>"
></banked-checkout>
<% } %>
Simplifying the checkout process
Banked's API allows for the customisation of the embedded checkout user experience by providing information when a payment is created that Banked would otherwise need to collect. A full checkout would have the following components:
- "You" - a user would enter their name and email
- "Pay" - a user would view the payment details
- "Bank" - a user would choose their bank
- "Connect" - once a bank is chosen, a user will be able to authorise the payment
Once the user authorises the payment within their bank, they will be redirected to a success or failure URL.
With our example, the user has already provided their email address and name - the "You" section. We supply the optional payer field with these details as part of the create paymentSession API call.
The below code is an excerpt from ./db/topups.js where we add the optional payer object to the request sent to create the paymentSession:
const hydrateRequest = (body) => {
  return {
    reference: `Topupify ${body.id}`,
    success_url: `${process.env.BASE_URL}/success`,
    error_url: `${process.env.BASE_URL}/error`,
    line_items: [
      {
        name: "Topping up your Topupify account",
        amount: body.amount,
        currency: body.currency,
        quantity: 1,
      },
    ],
    payee: {
      name: process.env.PAYEE_NAME,
      account_number: process.env.ACCOUNT_NUMBER,
      sort_code: process.env.SORT_CODE,
    },
    payer: body.payer,
  };
};
We can do this because of the top-up demo app's user experience, where we collect this information before the users make a payment. This is a common pattern among our customers implementing account top-ups.
Receiving webhooks from Banked and reacting to them
It's important, when implementing top-ups, that we let users know when the funds are available for them to use in their account. Normally when a user comes back from a checkout they'll land on on either a success or error URL provided as part of the create payment API call; but Banked also offers a webhook with granular payment statuses.
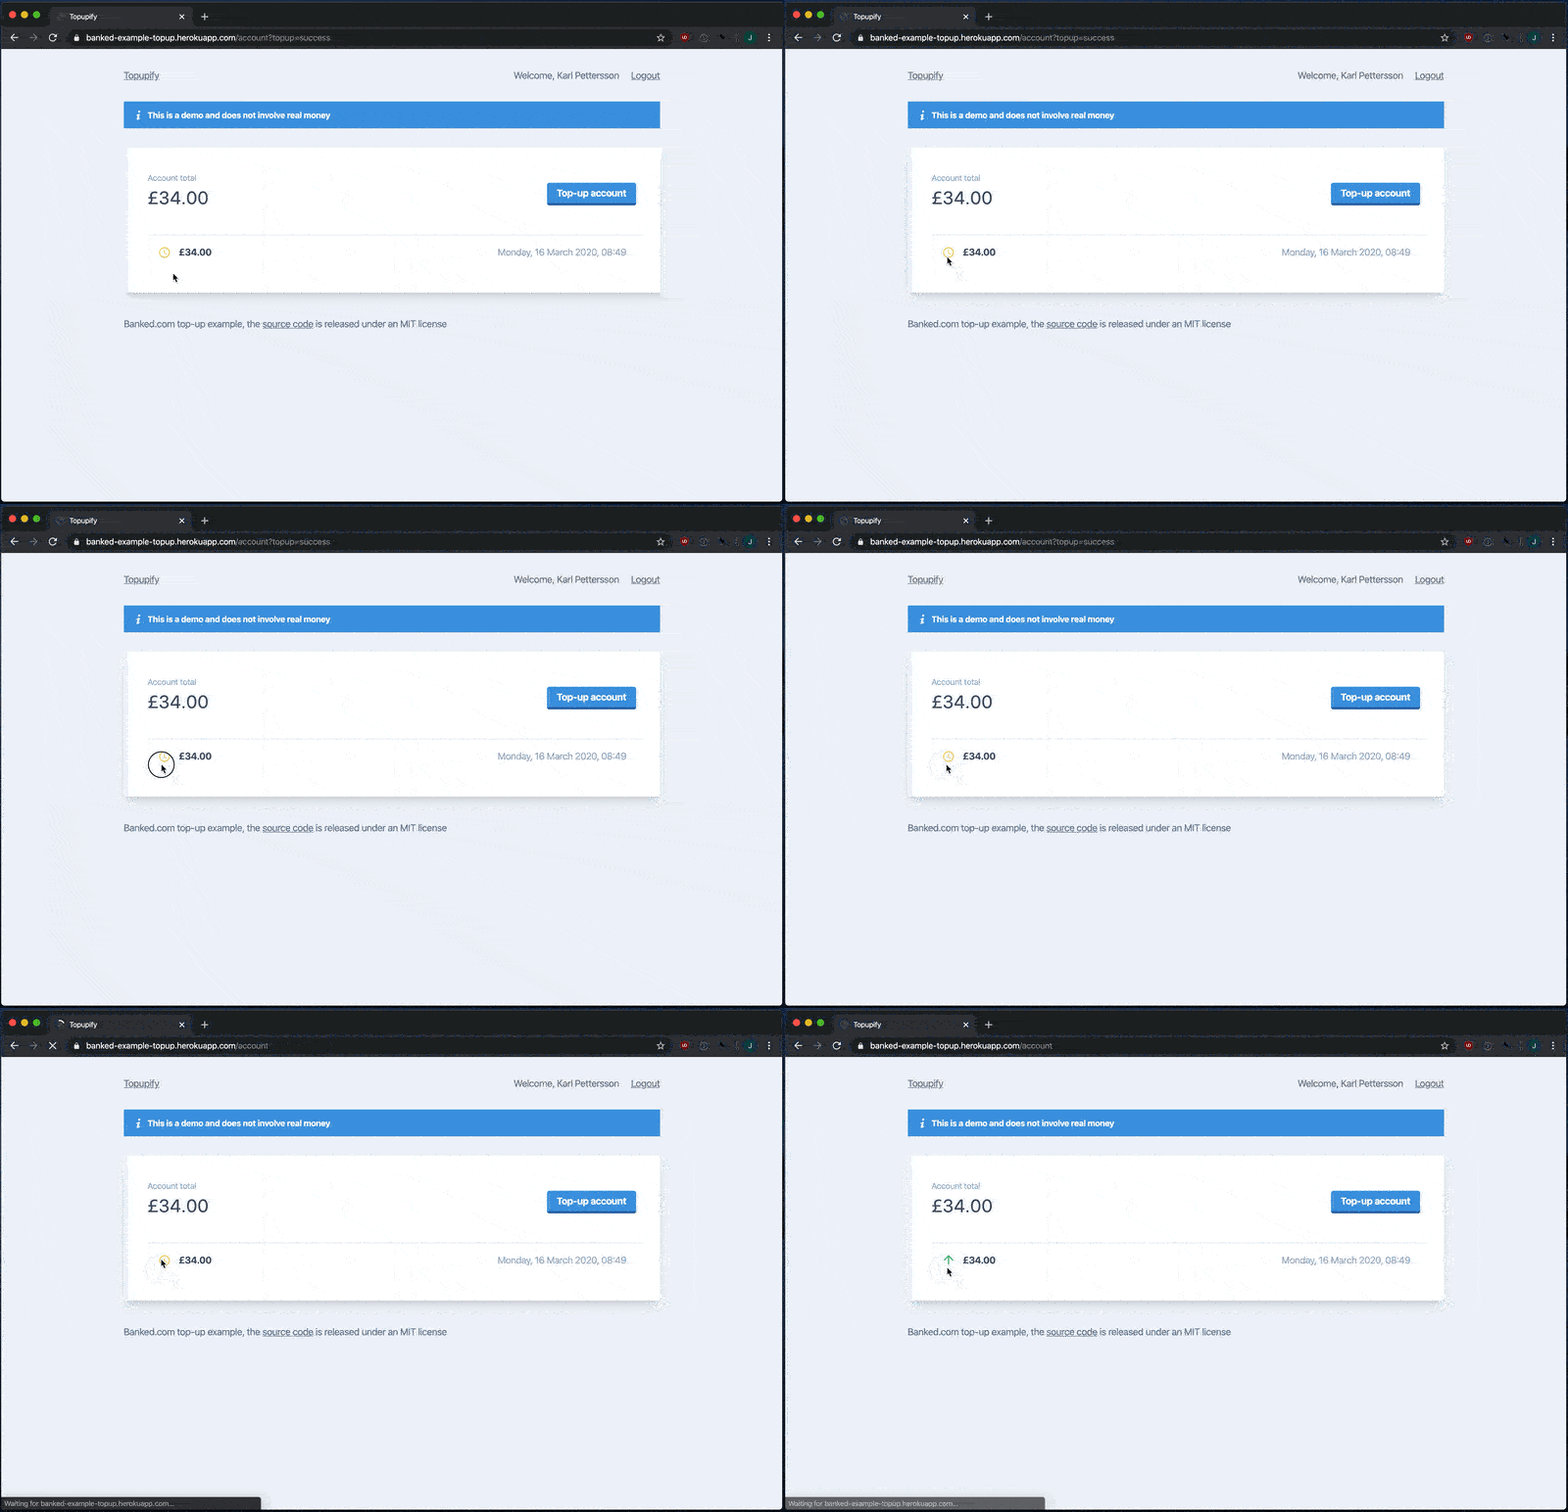
This enables us to build things like this: where the top-up is is in a 'pending' state, the yellow icon is displayed, and when the app receives the webhook saying the payment has been sent, it dynamically updates the user's dashboard and then could allow the funds to be used.

The code to do this can be seen in ./routes/webhook.js:
var express = require("express");
var router = express.Router();
var Topups = require("../db/topups");
var banked = require("../lib/banked");

router.post("/", async function (req, res, next) {
  try {
    const topupID = parseInt(req.body.reference.split(" ")[1], 10);
    const verification = await banked.webhooks.validate({
      payload_header: req.headers["banked-signature"],
      payload: JSON.stringify(req.body),
      signature: process.env.SIGNATURE_KEY,
    });
    if (req.body.state === "sent" && verification.isValid) {
      await Topups.updateStateByID(topupID, "complete");
    }
    res.sendStatus(200);
  } catch (e) {
    console.log(e);
    res.sendStatus(500);
  }
});

module.exports = router;
This also uses the Node.js libraries webhook validation, so we can make sure that the webhook is really from Banked and that we can trust it!
That's it! You have seen how easy embedding a checkout into your app using the banked.js SDK is. You can see the source code here on Github - feel free to use it as you see fit!